If you’re a blogger, you need amazing blog images even though you may not be a photographer!
**Disclaimer**
The businesses highlighted are in no way an endorsement. They are simply resources our Savvy Cali Girl contributors have deemed worthy of a shout out. If you want us to tell our readers about your resources or companies, tag us with #savvycaligirl and we’ll check it out for future blog posts or updates to this post.

Let’s face it, we live in a visual world
If you’re a blogger, you’re going to have to learn how to effectively use images within your blog posts and when promoting them. If you’re like us, upon hearing this you immediately think – I can’t do that, I’m not a photographer!
No need to panic. Fortunately for us, there are tons of really talented photographers out there that would love to show off their work! Consequently, this is where teamwork and cross-promotion can really be helpful.
You may be asking why can’t I use my own pictures? Well, of course you can! Technology (particularly cell phones) has turned all of us into potentially talented photographers. But honestly, some people are more inclined to take advantage of this than others. And the reality is, our standards have certainly changed with the advent of amateur photography. People crave real photos by real people. Still, you really need to have GOOD pictures for your blog regardless.
We’re here to let you know that locating, creating and placing blog photos can actually be a fun part of the process. Our simple tips will get you started on that journey.
Searching and Getting Permissions for Blog Images Takes Time
Finding images and receiving permission to use those images is one of the most time-consuming parts of putting together an awesome blog post for us. We cover the entire state of California, and have contributors in every section, but it’s still not always easy to use our own photographs.
If we can use our own that’s always our first choice. If that’s not an option, our second choice depends on the type of picture we’re looking for and what kind of blog post it will be used in.
Of course, for travel posts, we are fortunate that there are lots of choices in free stock photography on sites like Unsplash and Pixabay for many California locations. However, when we’re highlighting a particular business, restaurant, hotel or attraction we prefer to use photos that show readers what they can expect when visiting.
Where To Find Blog Images

Matthew T Rader Photo via Unsplash
Here’s a list of potential image sources you should consider
- Your own images, first and foremost
- Stock Photography (Unsplash, Pixabay, etc…)
- Photos owned by a business/service (with permission)
- Photos taken by others and posted on social media (with permission)
- Graphics (Not photos, but images that can break up long sections of text in a post)
Steps to Obtain Images
Here are the steps we take to secure photos (and permission) from any business we want to highlight.
1. Find the image (s) you want to use
Facebook is our first go-to source for this. I know, you’re thinking – but Instagram has more pictures! Yes, this is true, but most businesses post photos in both places. Facebook gives you the option to download timeline photos as a high-quality photo, but Instagram doesn’t.
That doesn’t mean you don’t still have to ask for permission! But it does eliminate the step where you have to depend on the business to send you a file of the photo. Every single thing you can do to make it easier for the business to simply give you a “yes, you have our permission to use this photo” and nothing else, the better.

2. Try Instagram Locations
If you can’t find any on Facebook try searching the location tag on Instagram. We’re often giving a shout out to a restaurant, store, or attraction, and there are SO many amazing amateur photographers out there taking pictures of these same places!
They tag their picture so you can find it (use the search tool), and then you simply send them a DM asking if they would let you use their picture in your blog post. We find that most of the time these people are THRILLED that you want to use their picture!
Don’t forget, you still need to give them credit.
3. Ask Permission To Use Images
It doesn’t matter where you found the picture you’d like to use. If it’s not yours, you HAVE to ask for permission. This can be tricky, depending on how responsive the business is. I have attempted to contact businesses via Messenger, Instagram Direct Message, Email, and Phone. (Phone is always my last choice as I like to get permission in writing. Plus – INTROVERT!)
If you’re like me and not crazy about putting yourself out there like this, try to keep in mind that promoting THEIR business on your blog benefits BOTH of you! Be polite, respectful of their time, give them all the information about what you’re using the picture for so they can make an informed decision, and take a screenshot of their response to put in your files. We use Trello for project management, so we attach the screenshot to the appropriate Trello card.
Dimension and Size of Images

Start With the Basics
Ok, saddle up kiddos. This is where it gets a little confusing for novices. We’ll boil it down to basics for you then give suggestions for places to learn more.
Let’s start with some definitions:
Dimensions = width and height (in pixels)
Example: 400px x 600px
Size = file size (in KB)
Example: 65KB
There are several online free web sites that will “Resize” an image for you. When most people talk about “resizing” they’re referring to dimensions, file size, or a combination of the two (which is why it gets kinda confusing).
We like pixlr.com and picresize.com. We have contributors working on PC and Mac and each have their preferences but internet-based resources make it even easier.
general dimensions to shoot for
- Thumbnail (150 px square)
- Within a blog post (max of 300px width and height)
- Feature Image (max of 1024px width and height)
Now, if you started with a really high quality picture, you may find that the file size is still too large.
Guidelines For Image File Size
- Thumbnail (50 KB max)
- With a blog post (150 KB max)
- Feature Image (400 KB max)
So, if you’ve changed the dimensions and your file size is way outside of these guidelines, you’re going to have to adjust. Use these guidelines as goals to shoot for. Balance your image to the best of your ability to work within both dimension and file size guidelines as much as possible.
Keep in mind – all of this resizing is done on the front end. BEFORE you’ve even loaded it into WordPress or whatever platform you’re using to create your blog.
Blog Images Compression
Because speed is king in web site world, you’re going to want to take the extra step to make your image as small and fast as possible while still being high quality. This is called compression.
Compression is most often done using a plug-in (if you’re using WordPress), or some similar feature if you’re using Wix or Squarespace.
A plug-in simply takes any image you upload to your site and “squishes” it as small as possible without harming the quality to the naked eye.
There are many programs available for use with WordPress that offer both free and paid versions. We like and use Shortpixel and are not an affiliate.

Savvy Cali Girl Graphic: Image Guidelines
Formats of Images
Most images fall into one of two formats. JPEG or PNG. If you really want to understand the value of one or the other, you can take a deep dive into image formats here via WordPress. Otherwise, let’s keep it simple.
JPEG for photos, PNG for graphics. Why does this matter? When you’re inserting these images into your blog post for viewing online, you want the smallest size file you can possibly get that still looks good to the naked eye. Large files will slow your site down and readers will leave. It’s that simple. Don’t put in all the hard work of creating a blog that nobody wants to read because it loads too slow!
If the image you want to use is only downloadable as one type of file, don’t worry. You can convert any image using the web sites jpg2png.com or png2jpg.com.
Alternative Text on Blog Images for SEO
For Blog Images Alt-Text Matters
PLEASE … I implore you to take the extra step to add alternative text with your images! It is an absolutely simple thing to do and is often overlooked. Why does the ALT+text even matter? Put simply, it matters for Google. It will eventually help you rank higher on a long term basis.
“Google knows what my blog post is about already.” Yes, if you’ve added enough keywords, meta descriptions and such then Google does know how to index your blog TEXT. Your images are also part of that equation. Give them the text and keywords if possible to help Google classify your images.
Alt-Text Reveals Important information To Google … Helping You Rank Your Blog Better. On top of that, images themselves could rank and lead users to your website. Include the alt text in naming a file before you even upload the blog image to your site.
Adding Alternative Text
How do you add the clarifying text? Easy! In any media gallery, there are multiple opportunities to add additional text. Add both descriptive words of the actual image as well as a keyword or two if possible.
This is different than the caption below your image within a post which may have attribution (credits) to the creators and owners of those photos.
Additionally, if you use the Divi builder with your WordPress site, you need to add alternative text within your post. The Image Module has an Advanced Tab for Attributes. (Pictured Here)

Screenshot of WordPress Divi Alt-Text Area

San Francisco Example: Image ALT Text
Why You Need to Explore San Francisco and Its Fabulous Districts (Blog Post Title)
Maestra Peace Mural, Womens Building, San Francisco (Alternative Text)
A Few Obvious Photography Tips And Your Blog Images
Ensure Your Image is in Focus
I cannot emphasize this enough. Garbage in, garbage out as they say. The best way to ensure quality at the end fo the process is to start with quality photos you love. Just take the best quality photo possible with your available equipment, whether it’s a phone camera or actual camera. You can always edit, resize and compress your images.
Center Your Photo on the Subject!
If the subject is a flower, a huge wide shot with tiny little flowers won’t showcase the subject. If it is a field of flowers that is entirely appropriate. What is the actual subject is the perfect question to ask before you click that pic.
Be Creative With Your Images
Find A Creative Angle
Yes, take that standard photo but also take ten more that are unexpected. What do we mean? Change the angle or zoom in. If it’s a park, building or monument, discover more than the usual scenic shot. Lay down and shoot straight up for example. Have plants in the foreground or add your hand into a photo. These techniques add interest. As blog images, they are more interesting!
Aim For Imperfection With Blog Images!
Yep, you heard me right! Not every beach is gorgeous but some of the most stunning photos, or at least ones that caught my eye, were on blustery days with storm clouds rolling in.
If people are your jam, let them act silly or uber serious. These types of photos can be especially helpful when you start promoting your blog post.
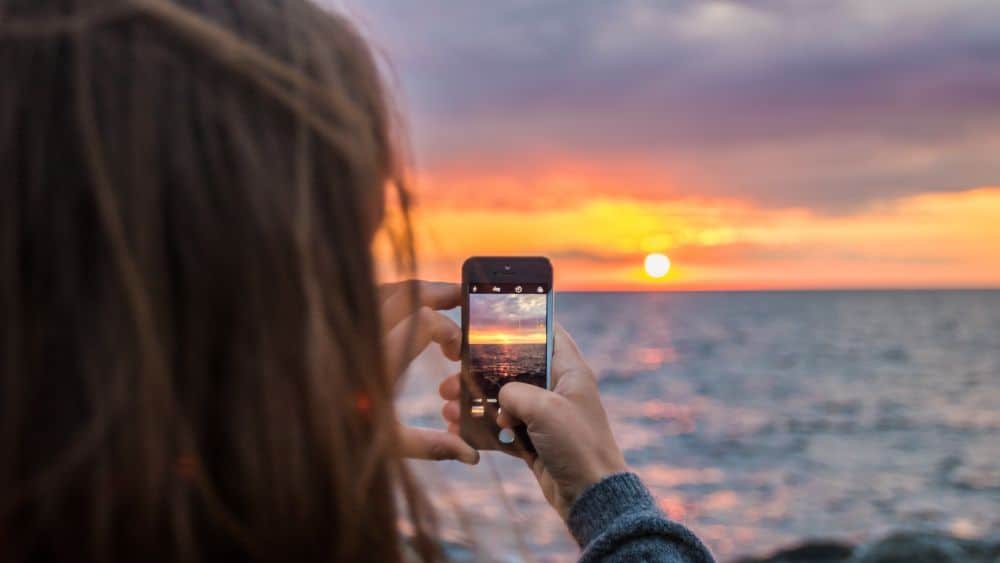
Consider Lighting, Always
A beach at sunset is completely different at midday or sunrise. The same goes for your subjects, whether they are buildings or people, consider your shadows and angles.
Always shoot more photos than you think you’ll need. You never know what you’ll need later so take advantage of your opportunities. If you’re shooting a taco, include the drink, the menu , the placemat, the flowers or the candle on the table, whatever is available. Get the front of the establishment and some of the decor. Get as much as you can before your dining mates take your camera away.

Tyler Nix Photo via Unsplash
Credit Blog Images With Both Text And Links
We make it a general guideline for all of our contributors to source their images on the blog post 100% of the time. Even if it’s not required. It’s kind of just the polite thing to do, am I right?
How to give credit? There’s no hard and fast rule. Generally accepted practice is to place text close to the image. The text tells your reader where you got the image. Also include an appropriate hyperlink to contact that person (Instagram Account, Web Site, Facebook Account…).
In addition, we ask the owner of the image where they would like us to credit. We do that when we contact them for permission. You’ve seen us give credit throughout this post. We have a template that is pre-formatted. We just adjust the text and hyperlink for each circumstance.
Just Get Started, Keep Going and Add Images To Improve Your Blog
Create a Checklist to Stay on Track
The best way to to work with images is to just get started. Make your self a little checklist for choosing and adding your blog images.
Here is ours but modify it for your process! There are far more steps if you add subsets of each section. The trick is to just get started and keep it basic until you’re ready to bump your learning curve again.
- Find your image (we add the image, link and attribution text to our organization system (we use Trello, but more on that later)
- Modify the image for size and dimensions and file name
- Upload to your site
- Add alternative text in your media library AND in the Advanced Attribution Tab (WordPress Users)
- Give credit for the source and/or owners of the photo within the post
Beyond Blog Images, Writing And Structure Is Just As Critical
If you missed the first post on blog post writing, it’s worth a read. It really is nothing like those college essays, Writing a novel or even business formats. It takes a very clear understanding of the mobile device audience and SEO. With lots of tips and lessons learned, we took a deep dive in this previous post, Why Blog Post Writing Is Unique & How To Do It Right!
In addition, structuring the content of your blog post is very important for SEO. We dedicated an entire post to this topic but if you are seeking SEO rewards and still aren’t how to structure a post, we’ve got you covered! How To Create Super Easy Blog Post Structure For SEO Success


Thanks for this! Is it necessary to credit photos from free stock photo websites?
It may not be necessary to credit stock photos but as a blogger, the attribution does reflect whether a photo was taken by us or if we used stock a photo. Long term I think being upfront will be appreciated.
This is a great post! I’ve been struggling with adding images in my blog post for a long time because they slow down my site and are never sized properly. I’m definitely going to bookmark this page for future reference.
This was a huge challenge for us too. With a cheat sheet for the sizes/dimensions you use on your website as well as a little step 1,2,3 …. you can really up the quality/speed of your site which eventually helps you rank better on google in the long term.
Thank you for this post!!! It’s not easy to use personal photos on a daily basis and find the right dimension is very challenging. Thanks for these tips, I will put them in practice.
That was an incredibly detailed post. I wasn’t expecting such a large amount of information when I clicked to read your post. Very well done
Thank you. Our first six months and learned quite a lot in a such short time period!
Greetings from Florida! I’m bored to death at work so I decided to browse your website on my
iphone during lunch break. I really like the knowledge
you provide here and can’t wait to take a look when I get home.
I’m surprised at how fast your blog loaded on my phone ..
I’m not even using WIFI, just 3G .. Anyhow, superb site!
Does your blog have a contact page? I’m having
a tough time locating it but, I’d like to shoot you an e-mail.
I’ve got some suggestions for your blog you might be interested in hearing.
Either way, great blog and I look forward to seeing it develop over time.
Wow, this article is pleasant, my sister is analyzing these kinds of
things, therefore I am going to tell her. http://cars.com
Feel free to surf to my blog post – Kiersten
Email is in the sidebar. Thanks for looking through our site!